In the digital age, your domain name is your identity—it’s how your audience finds you, remembers you, and shares your content with the world.
As we forge ahead in 2025, securing the perfect domain name has never been more critical for establishing a robust online presence.
In this blog post, we’ll walk you through seven steps to acquire your digital namesake with ease. But first, let’s take a quick look at why we no longer recommend Google Domains.
Table of Contents
A Quick Detour: Google Domains
We used to recommend Google Domains as the best place to purchase a domain since it was tied to your email address. However, since their acquisition by Squarespace, the platform has become challenging to navigate.
We’ve had instances of domains expiring and Squarespace not telling the owner that the site would go down. We’ve also encountered issues with transferring websites from Google Domains to Squarespace.
In addition to unreliable support, Squarespace also makes it challenging to log in, which makes it difficult for companies like us to offer support to our clients.
If you’re looking to purchase a domain name seamlessly and affordably, our current recommendation is Namecheap. In a moment, you’ll understand why.
Let’s walk you through the steps to acquire your digital namesake with ease.
1. Brainstorm Your Perfect Domain Name
Before you dive into the purchasing process, it’s vital to brainstorm a domain name that reflects your brand, is easy to remember, and resonates with your audience. Consider the essence of your business or personal brand and play around with words or phrases that capture that spirit.
Related: Creating a Strong + Memorable Brand Identity
It can be as long or as short as you’d like. But prioritize clarity.
Sometimes going simple is best…for example, DaveyandKrista.
2. Head to Namecheap
Once you have a list of potential domain names, head over to Namecheap’s user-friendly website. Known for its affordability and stellar customer support, Namecheap offers a straightforward platform that demystifies the domain-buying process.
As displayed on its website, Namecheap supports over 2 million creatives at the time of writing and boasts a 4.7 out of 5-star rating.
3. Use the Search Tool
On the Namecheap homepage, you’ll find a search bar prominently displayed.
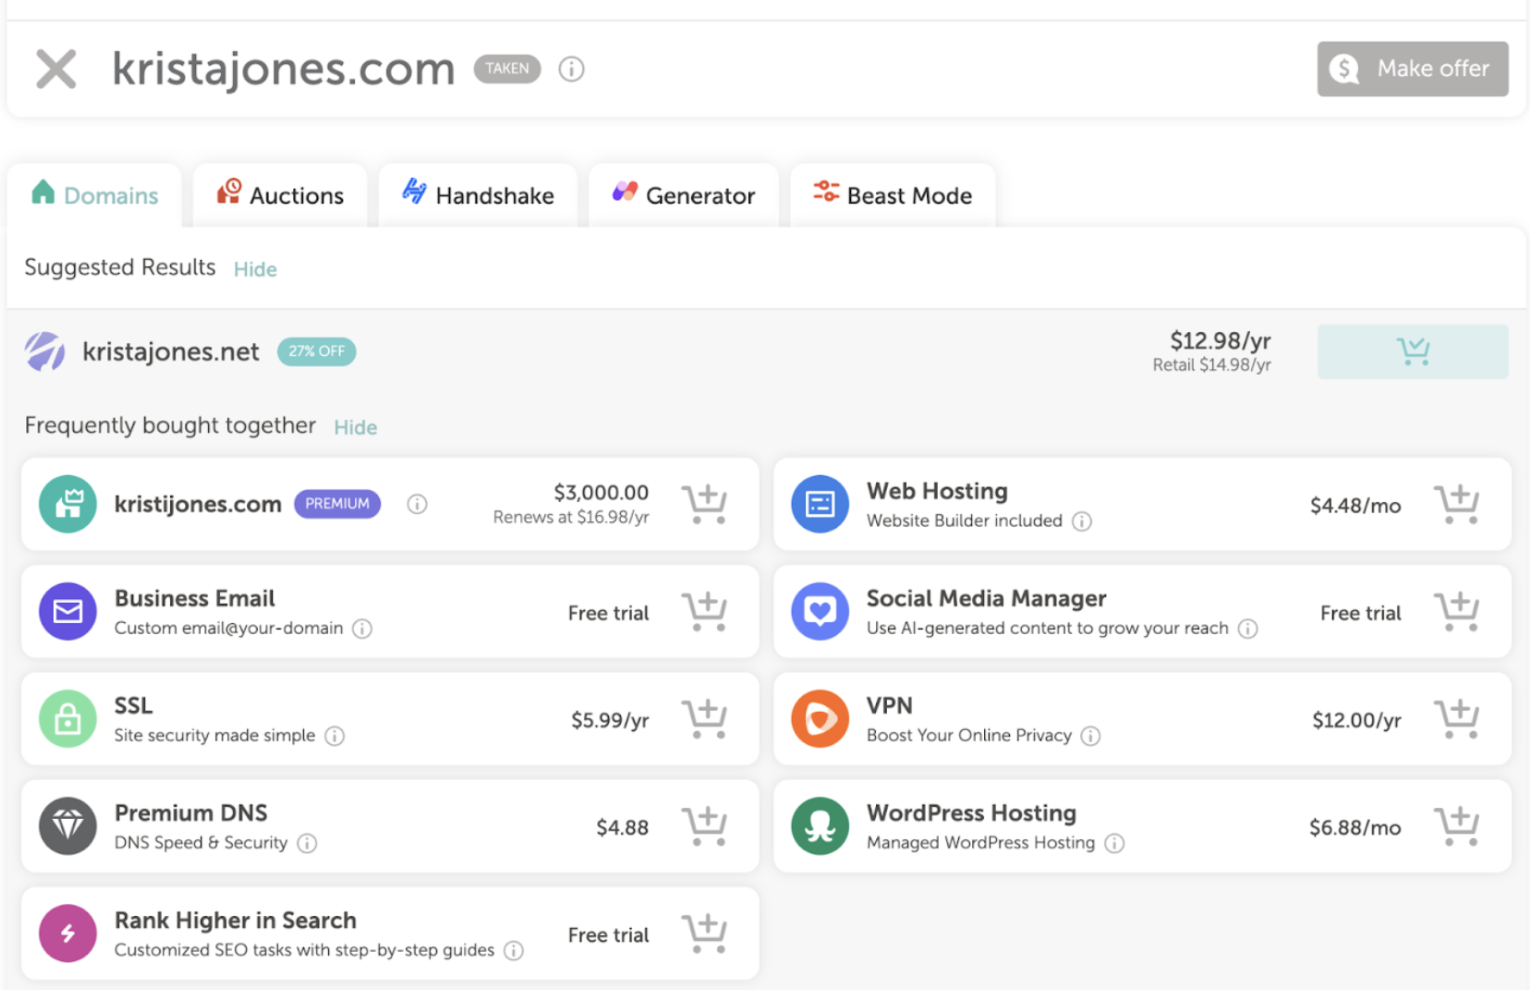
Enter your desired domain name, and Namecheap will not only check its availability but also suggest alternative extensions and similar domain names if your first choice is taken.
With a plethora of extensions ranging from the classic .com to niche-specific ones like .tech or .design, you have the flexibility to choose a domain that best suits your needs.
4. Choose Your Domain
After finding your perfect domain name and confirming its availability, it’s time to decide. Consider purchasing multiple extensions, or variations of your name, to protect your brand and prevent others from registering similar domain names. We highly recommend getting a domain with the .com since it’s the one most people default to. Then, if you have the option, purchase some of the other basic URLs too.
Most likely, you won’t need any of the extras that Namecheap offers.

5. Review Your Cart
Add your chosen domain name to your cart, and review your order. Namecheap often provides additional services like domain privacy protection, which keeps your personal information hidden from the public WHOIS database.
Evaluate which add-ons make sense for you, but remember, domain privacy is always a wise investment for maintaining your online security and privacy.
6. Set Up Your Domain
After purchase, you can access your Namecheap dashboard to manage your domain. Whether you want to set up email forwarding, link to a hosting service, or start building your website with one of Namecheap’s site-building tools, you have complete control over your domain settings from the get-go.
If you’re launching your website on Showit, you’ll point your new domain name to their hosting at the end of your project.
Related: 8 Reasons Why We Love Showit
The Showit support team will walk you through this process and answer any questions you have. They also put together this helpful article here.
7. Set Up Google Business Mail
While we might not recommend the former Google domains any longer, we do still think that Google Business Mail is a great product, and Showit does too.
Click here to learn How to Set Up a Google Business Mail Account.
Once you’ve done that, you’re all set! Congratulations, you’ve purchased your domain name and set up your Google business mail account!
Download: Free Showit Launch Checklist
Wrap Up
Do you see why we think Namecheap is a breeze?
This resource is affordable, easy to use, and dedicated to quality customer service. Follow the seven-step process above, and you’ll be well on your way to crafting a memorable and impactful online identity.
Do you have any questions or thoughts about the steps we listed above? Comment below. We’d be happy to help you!

VIEW THE COMMENTS
Add A Comment