A quick, 5-step video and text tutorial demonstrating how to create a branded shortlink using Bitly.
A shortlink, or Short Link, is exactly what it sounds like: a shortened link.
Why would you want to shorten a link?
- If the link is really long or contains UTM parameters that you might not necessarily want visible to people, shortening the link can make it appear less “spammy” and more appealing to click.
- Link shorteners like Bitly often have easy-to-understand metric tools that are often quicker to set-up and read than some alternative options for link tracking.
A branded shortlink is simply a shortlink that’s been created based on your brand. For instance, instead of having a shortlink look like this:

A branded shortlink looks like this:

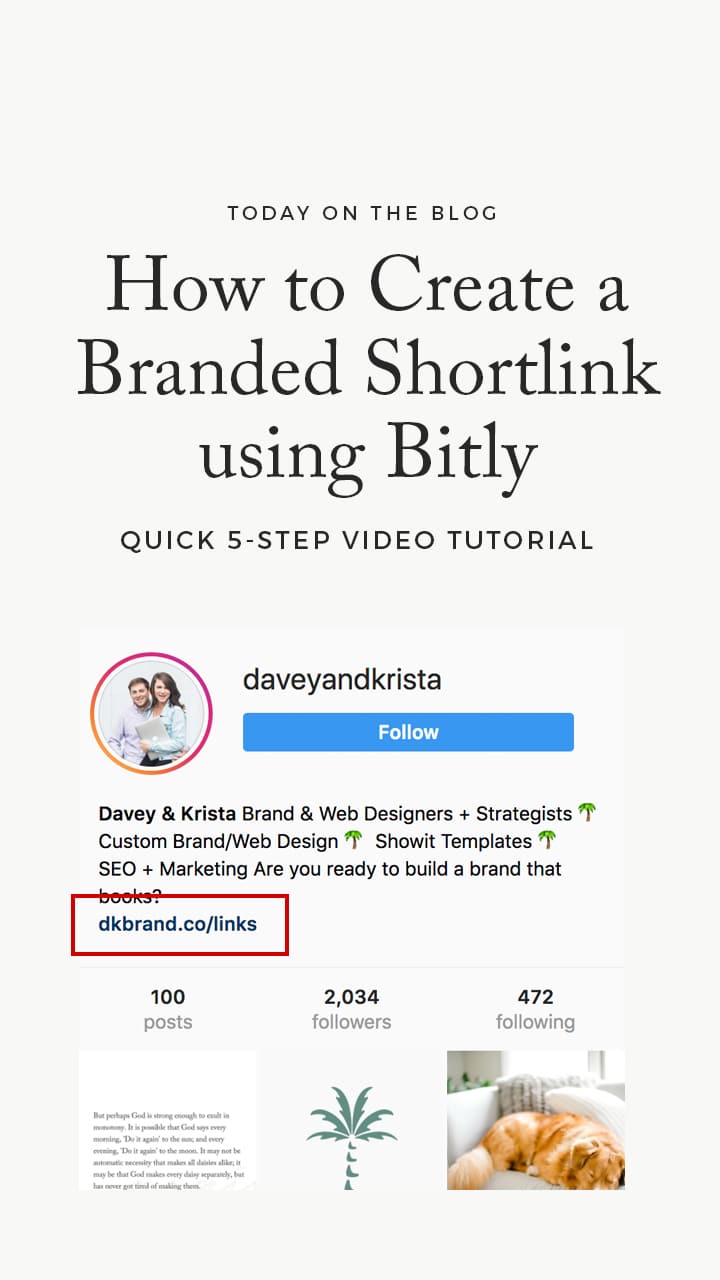
The example above is the shortlink that we use for Davey & Krista.
Companies like Bitly and Rebrandly claims that branded shortlinks are more likely to be clicked than un-branded shortlinks. I’m not quite convinced that’s true (at least in any significant way).
But a branded shortlink is an easy brand booster that’s both free and quick to set-up. So, why not?
How to Set-up a Branded Short Domain using Bitly
1. Use something like Google Domains to find a short domain. We recommend Google Domains because it’s easy to navigate and use—especially if you already use other Google tools for your business.
When choosing a domain, try to keep it as short as possible. Bitly has a 15-character limit including the dot.
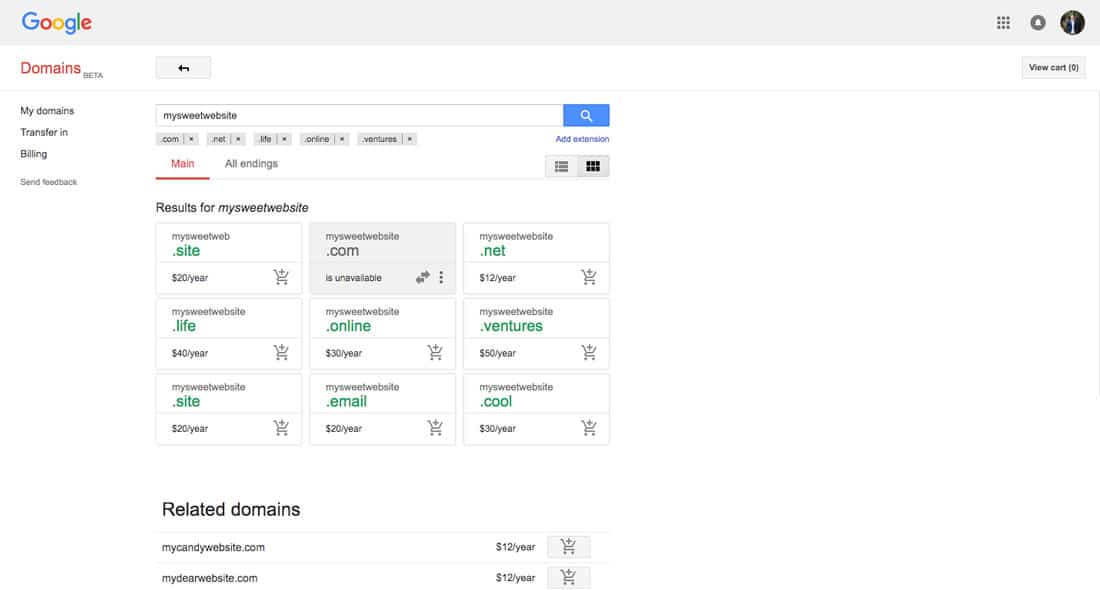
2. Create a Bitly account. There are other options out there, but we’ve never had an issue using Bitly and the free version is fairly robust.

3. In Bitly: Select your username in the top-right corner of the screen. Then select Manage > Branded Short Domains. Select the button that says Add a Branded Short Domain. Copy the two addresses for the A-record you’ll create in the next step.
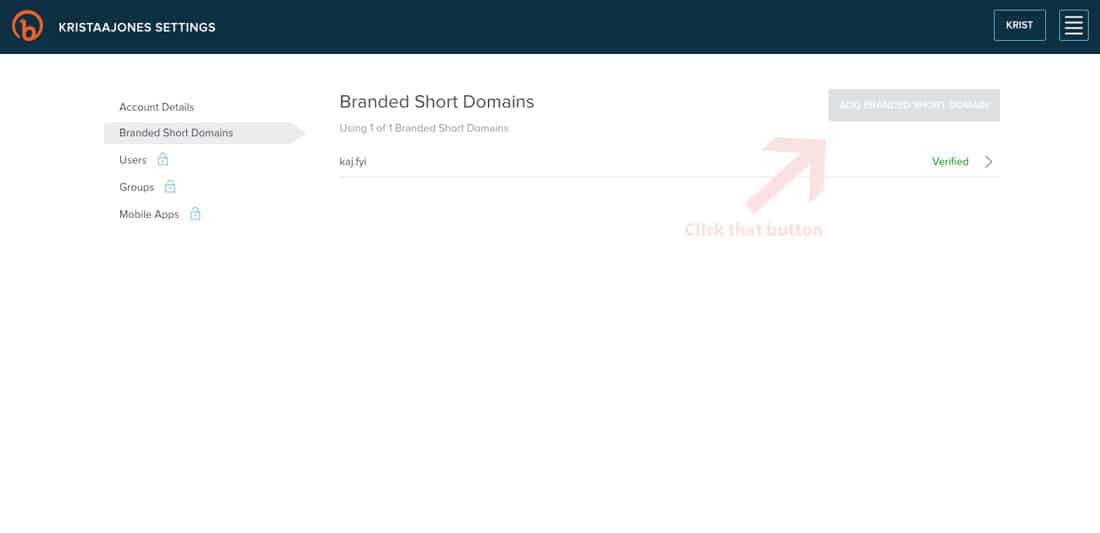
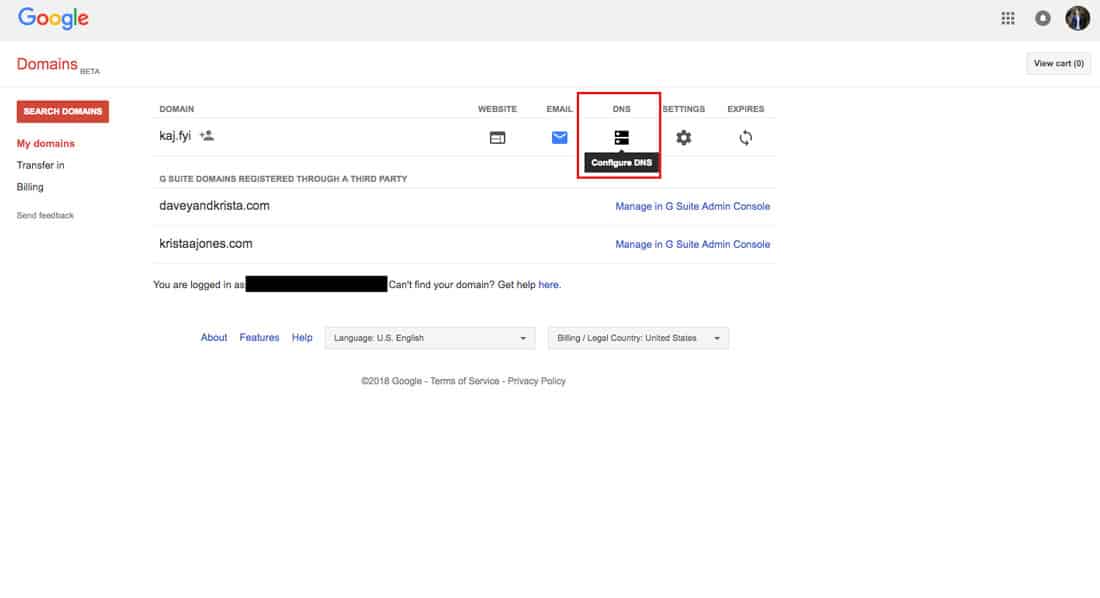
4. Create an A-record using the two addresses provided by Bitly. Go back to Google Domains (see other configuration directions here) and click Configure DNS (or the comparable setting).
Find the area to add a custom record. In most cases, you’ll probably be able to keep the default Name (@) and TTL (1H) entries—just be sure that you’re adding an A-record and entering the correct addresses.
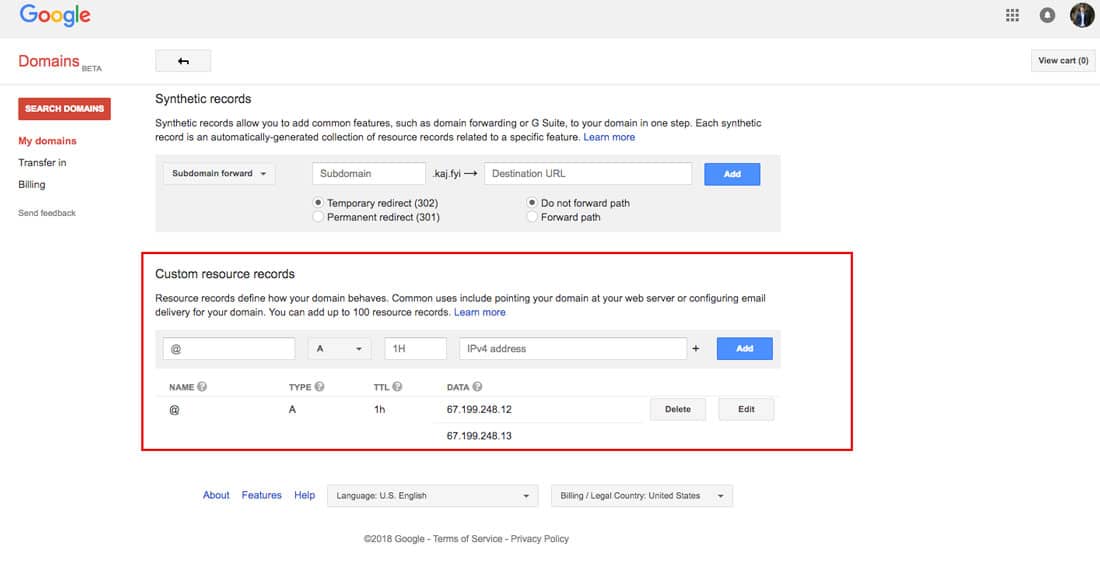
Note: You’ll need to delete any pre-existing A-records.
5. Enter your custom domain in the appropriate field within Bitly and select Verify. You’ll see a green verified notification within Bitly when your branded short domain is ready to use.
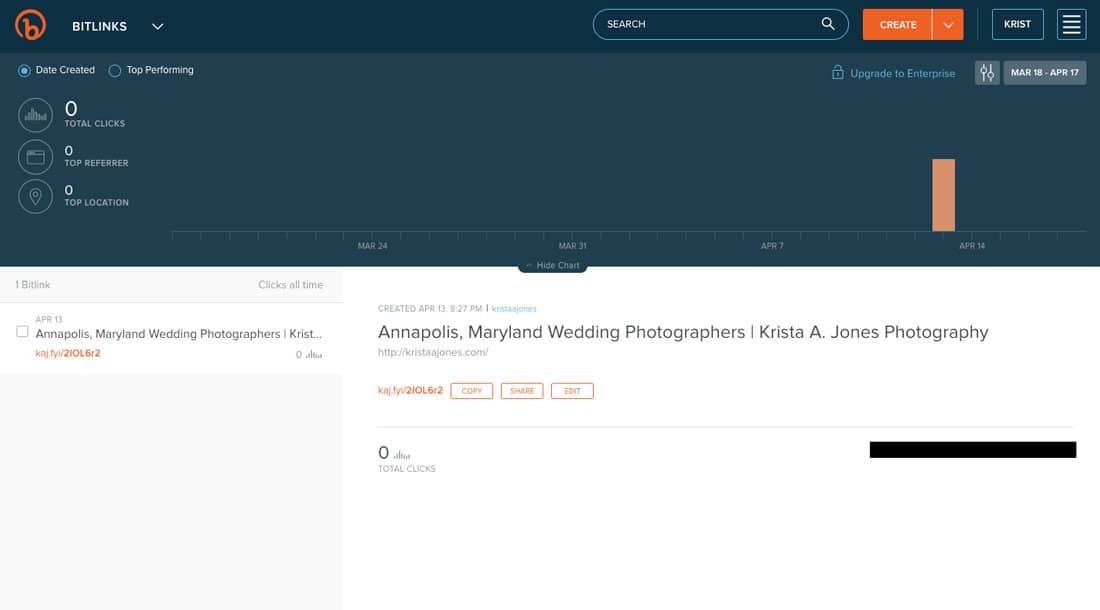
Bitly says it can take up to 24 hours; however, it has only ever taken 10-15 minutes for us.
Have a question? Let us know in the comments.
VIEW THE COMMENTS
Add A Comment