Davey recently asked me to help him turn his handwriting into a font. Although I’ve been a designer for 15 years, this is the first time I’ve ever attempted to create my own font. I thought that it might be a really tedious process, but it actually ended up being pretty easy. I made my own version in about 10 minutes.
I started by signing up for a Calligraphr.com account. I started with the free version, but quickly realized that we needed more characters than I could select on that plan. If you’re doing this for yourself, skip the free account and opt for an $8 a month account. You can cancel as soon as you’re done creating your font.

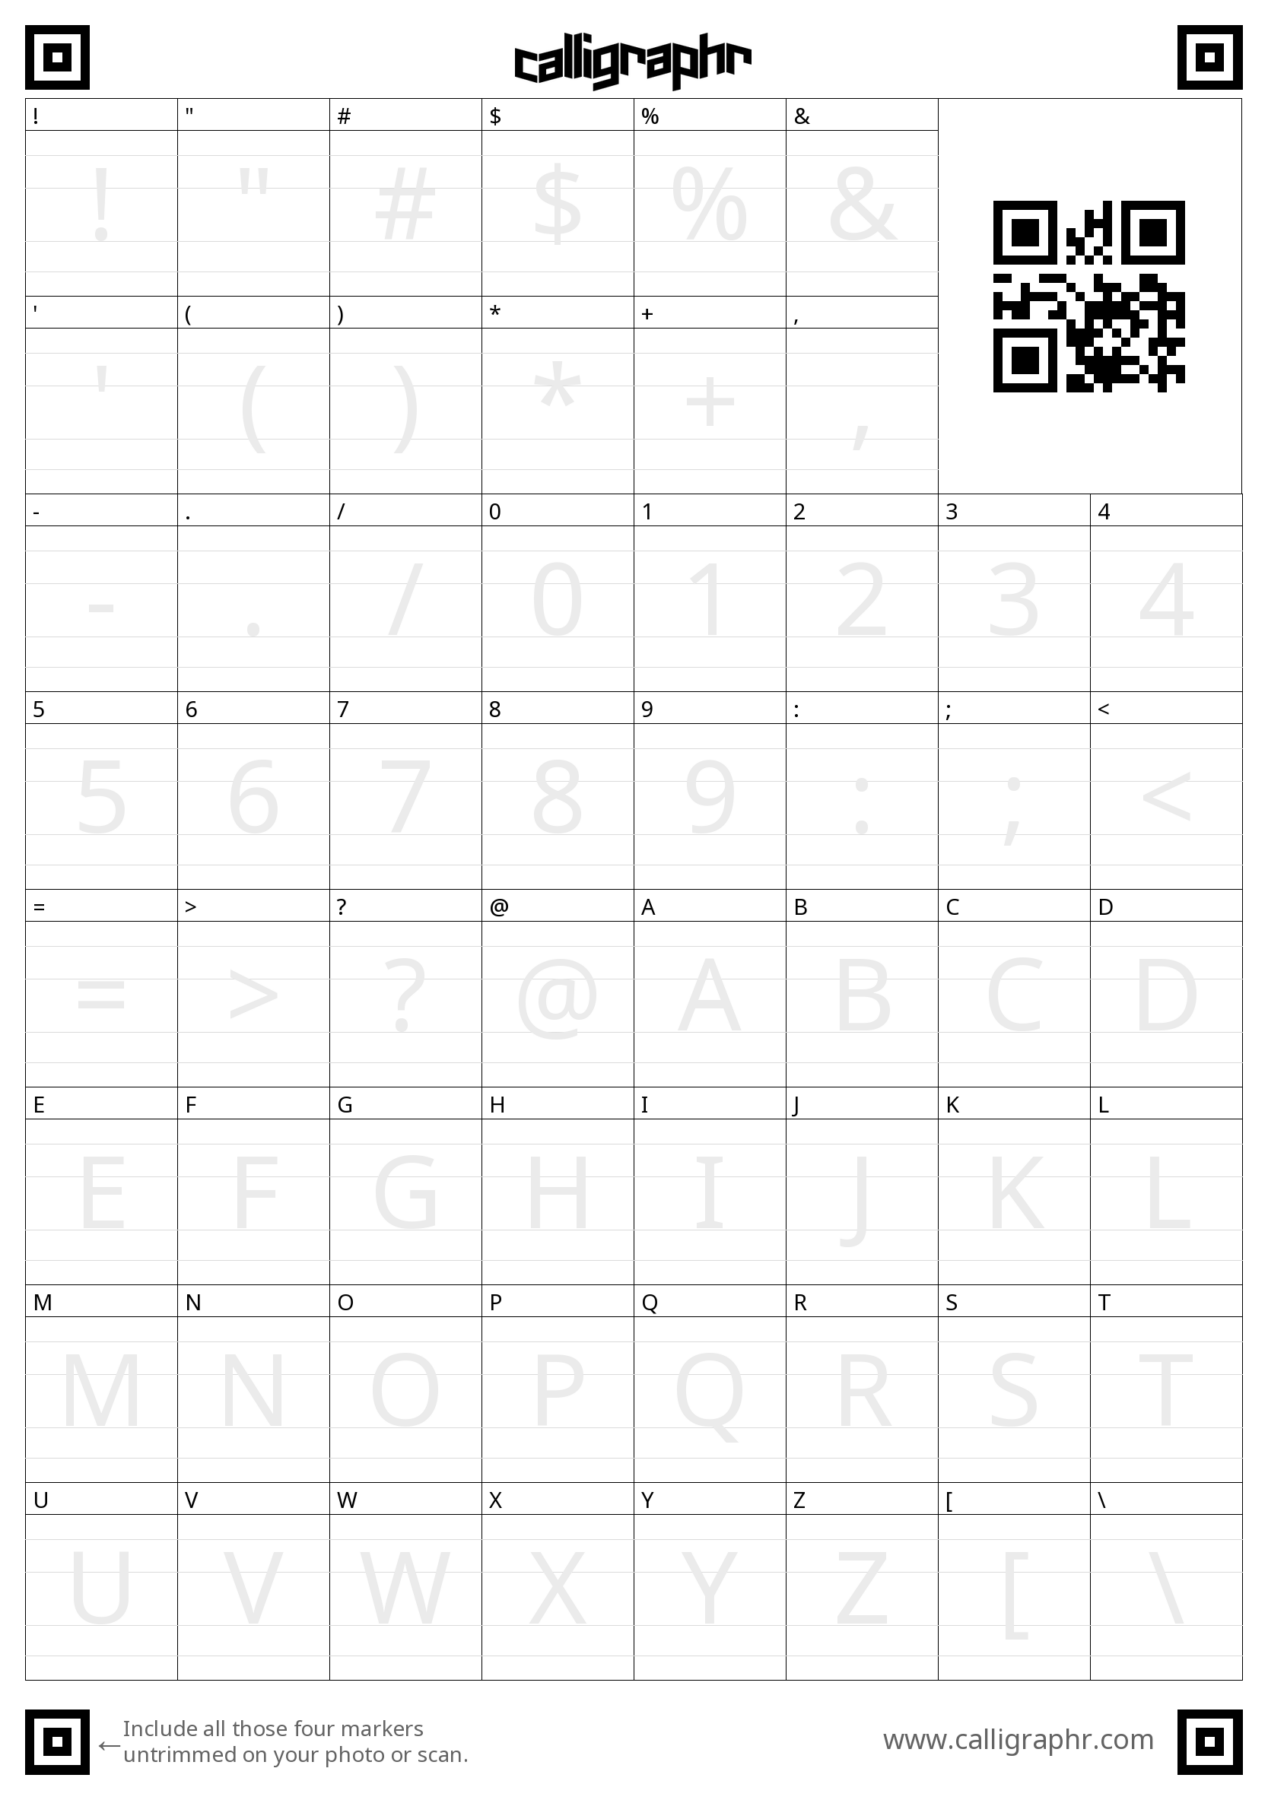
Select the characters you need and then download the template as a PNG file. It will look something like the image below. It’s helpful to turn on the characters in the background to help you gauge the size of the characters.

We tried printing the sheets, writing with a pen and then scanning the sheets back into our computer, but the characters came out super thin.
For our second attempt, I downloaded the files to my iPad Pro and used ProCreate to draw the characters. I liked using the Studio Pen brush but test out a few different styles to see which suites your handwriting the best.
Once I had drawn all of the characters, I exported the PNG files with my characters back to my computer and then uploaded them to Calligraphr.
I had to adjust the baseline of a few characters as well as the width of a few others, but the premium version of Calligraphr did a much better job of rendering the font.
Once I was happy with the way my handwriting looked, I exported the font file to use on my computer, in Showit and in Canva.
And that’s it!
If you followed this tutorial to create your own font, comment below with a link. I would love to see it!

VIEW THE COMMENTS
Add A Comment