


This is a design mistake we see people make over and over again. While most website editors and blogging software will size your images down when they’re displayed, if you upload high-resolution images, your site is probably going to load fairly slowly.
This is something we were guilty of early in our career as photographers. We wanted our images to look great on our website, so we uploaded the largest ones possible knowing that our website would display them at a larger size. But the problem with that is that those images were so slow to load that most of our website looked white when you first arrived and visitors had to sit there waiting for images to load slowly from the top to bottom. It was like watching waterfalls in very, very slow motion.
Not only was that a bad experience for our site visitors, it also slowed down our site – which isn’t so great if you’re hoping that your site will rank highly in Google searches.
So what size images should you share?
To take into account retina devices (which need a larger file in order to appear crisp), we recommend:
[Width of images displayed on your website] x 1.5 = [size file you should upload]
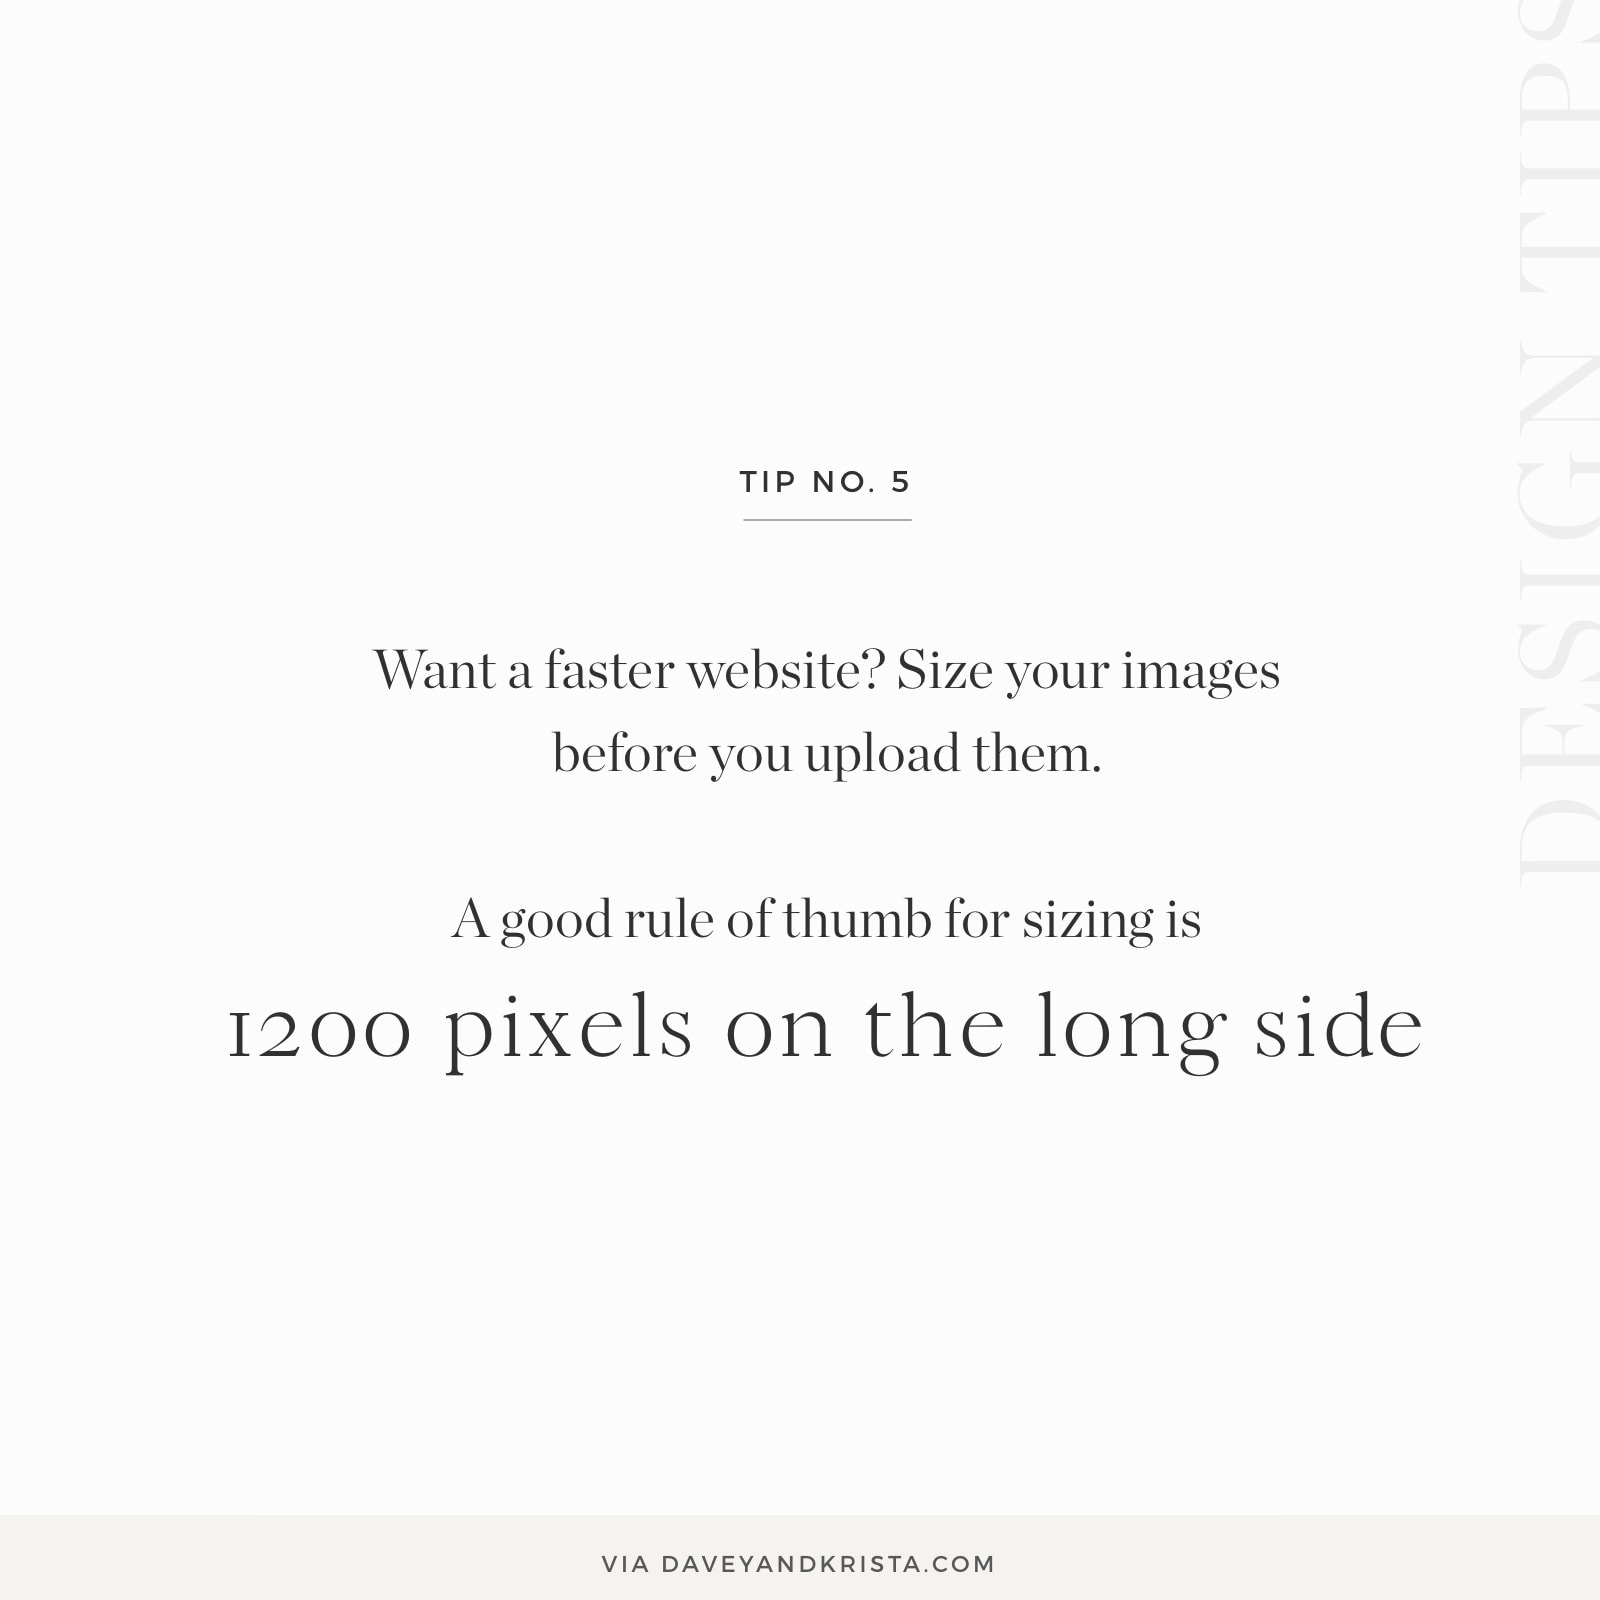
But if that’s too much math, a good general rule of thumb is to make your images 1200 pixels on the long side (exported as 72 dpi jpegs) unless that image is going to span the full width of the page (such as a background image). In that case, we recommend making your images 2000 pixels on the long side (still exported as 72 dpi jpegs).
If you want to see exactly how we export, size and upload images for a blog post, check out this post.

Krista is the co-founder of Davey & Krista, a creative studio known for high-converting Showit website templates crafted for photographers, creatives, and entrepreneurs. With over 15 years of branding and marketing experience, she helps business owners launch stunning websites without the tech overwhelm. Krista also teaches designers how to turn their creative skills into a thriving business—through templates, courses, and behind-the-scenes strategy. When she’s not designing, you’ll find her chasing sunshine, color palettes, and gluten-free pizza.
Explore website templates and free resources at daveyandkrista.com.


VIEW THE COMMENTS
Add A Comment