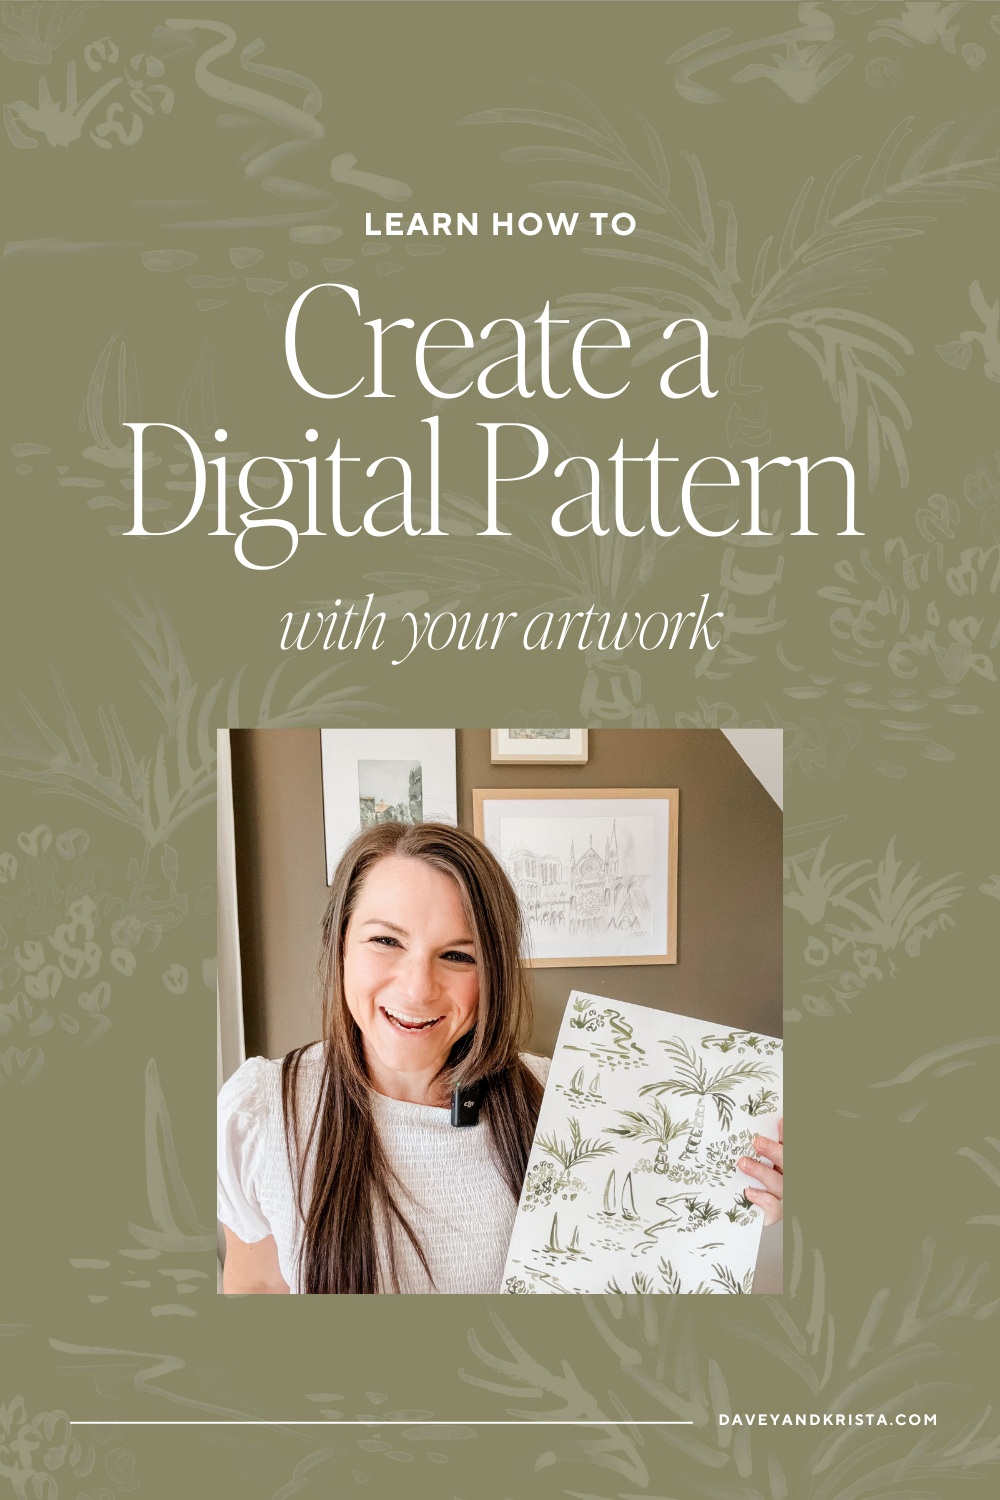
It’s so important to make your website look and feel like you.
One of my favorite ways to personalize a website is by adding a piece of hand-created artwork as a background.
Whether your original art is watercolor, acrylic, charcoal, oil, etc., this is a unique way to incorporate it into your brand and website.
We put together a video tutorial to show you how to take a piece of artwork, customize it in Adobe Photoshop, and then use it on your Showit website (our website platform of choice).
Watch the video tutorial, and then take a look at the process and resources below.
Let’s break down the process:
Scan Your Piece of Art
Choose a piece of artwork that you love! No need to worry about the colors or textures, these can be adjusted in Photoshop later.
Then scan your artwork in your scanner at the highest resolution possible, preferably 300 dpi or higher.
Note – you do not need a fancy scanner for stunning results. The goal is to capture the pattern structure of your piece.
Load Into Adobe Photoshop
Adobe Photoshop is one of our favorite designer tools. It provides an extensive library of resources, including layers, masks, filters, brushes, color correctors, and more. In other words, it’s the perfect tool for transforming our artwork into a digital pattern or background.
Related: Our Favorite Tools for Designers
Open Photoshop and click Create a New Project. Then upload your scanned piece of art into the new project.
Once your scan is loaded into Photoshop, use the crop tool on the left side of your screen to eliminate any borders or shadows that were added during the scan.
Remember – it doesn’t have to be perfect.
Adjust the Brightness and Contrast
This is where the fun begins!
It’s time to adjust the brightness and contrast of your artwork. To do this, click the Adjustments tab on the right side of your screen, tap the Levels button, and slide the cursors to your preferred brightness.
Another way to adjust the brightness and contrast is to use the Properties tab on the right side of your screen. Play with it to customize the settings.
A third option is to click the Image button on your computer’s toolbar and then click AutoTone and AutoContrast in the dropdown menu. These can be hit or miss but sometimes they help move an image closer to the right settings.
Once you have adjusted the brightness and contrast settings to your preferences, you can begin changing the colors.
Colorize With Your Brand
Photoshop makes it easy to change the colors of your artwork to match your brand.
Note: Brand consistency is important across all elements of your website. If you’d like to learn more about professional branding, read: How to Elevate Your Brand.
Choose one of the shades from your brand, then select the rectangle tool and drag your cursor over your artwork.
Once your color is selected, you can adjust how it is applied to your piece using the drop-down menu: normal, overlay, lighter color, color burn, etc.
Related: How to Choose the Perfect Colors for Your Brand
Play around with the colors until you find a combination you love. If you want a transparent background, keep reading!
Finetune your Pattern
Now, you get to fine-tune your artwork!
Select all of your layers in the bottom right Layers box, merge them together, and remove the background. If you have a Mac, use Command E to merge everything together. Then, click Command X to remove the background.
You now have your pattern!
You can leave the empty background as is or add a new brand color to create a new background. Remember to adjust your levels and opacity.
If you want to erase or duplicate elements of your pattern, use the selector, stamp, and erase tools on the left side of your screen to fine-tune your pattern.
The key is to play around, have fun, and explore in Photoshop. Once you’ve created your pattern, there is so much you can do with it.
Save and Export
After you’ve fine tuned your design to your taste – colors, intensity, background, etc. – go to File on your toolbar at the top of the screen, click the dropdown menu, and select Export.
This will give you multiple options, including Export as a PNG or Save for the Web. If you’re using your pattern for your Showit website, select the latter.
If you want to use your pattern as a full background image on the website, export it at 1800 px wide.
Related: Why Showit is Our Favorite Website Platform
You should also consider embedding a color profile and adjusting the quality of your export to 70 so it doesn’t affect website speed.
Related: How to Batch Resize Images for Websites
If you want to make your pattern a transparent PNG file, remove the background on your design, go to File on your toolbar at the top of the screen, click the dropdown menu, select Export, and Save for the Web.
Then export as a PNG 24, checkmark the Transparency box, and click Save.
Once your file is exported it’s easy to upload it to your Showit website.
Add a new photo on your Showit website, drop your pattern in as the background, and then add images and text over it!
Wrap Up
Hopefully, this video tutorial and process have provided an easy way to transform a piece of artwork into a Showit website background!
We’re here to help you elevate your website and brand, so if you ever have a question, please don’t hesitate to message us on Instagram or send us an email.

VIEW THE COMMENTS
Add A Comment