Congratulations! You’ve managed to turn your love of taking pictures into a photography business. You’ve likely photographed family and friends and maybe even booked a few paid shoots from social media, but now you’re at the point where, in order to really grow, your business needs an online home.
There are loads of resources out there about how to create a website and plenty of software to streamline the process, but how do you know that the site you’re creating is really something that is going to grow with your business?
We’ve built hundreds of websites and in most cases, the steps for launching a website can be broken down into a series of about ten steps.
This article is filled with resources to not only help you get a website up and running, but to do it in a way that actually helps you book more of the clients you want to work with.
So how do you begin?
1. Choose your business name
It’s likely you’ve already given your business a name, but if you haven’t, we highly recommend doing this first as your name will determine your website URL (which you’ll need to secure next!)
In general, we recommend simplicity over something too “cute and clever”. You want your business to be easily recognizable and ideally it would be easily associated with you. While something like Shots from the Heart Photography sounds like it would be memorable, clients are going to have to remember both Shot from the Heart and Krista Jones when they talk or share about my work or receive communication from me.
So in most cases, choosing your name for your business name works very well.
2. Purchase your domain name
Your domain name is your website’s URL. It’s the address visitors will type into their browser in order to reach your website.
Try to keep your URL short and in line with your business name. So if your business name is Andrea Long Photography, I would see if you can purchase andrealong.com, andrealongphotos.com, andrealongphotography.com or something similar.
Try to grab a .com if you can because it’s the easiest type of site for visitors to remember.
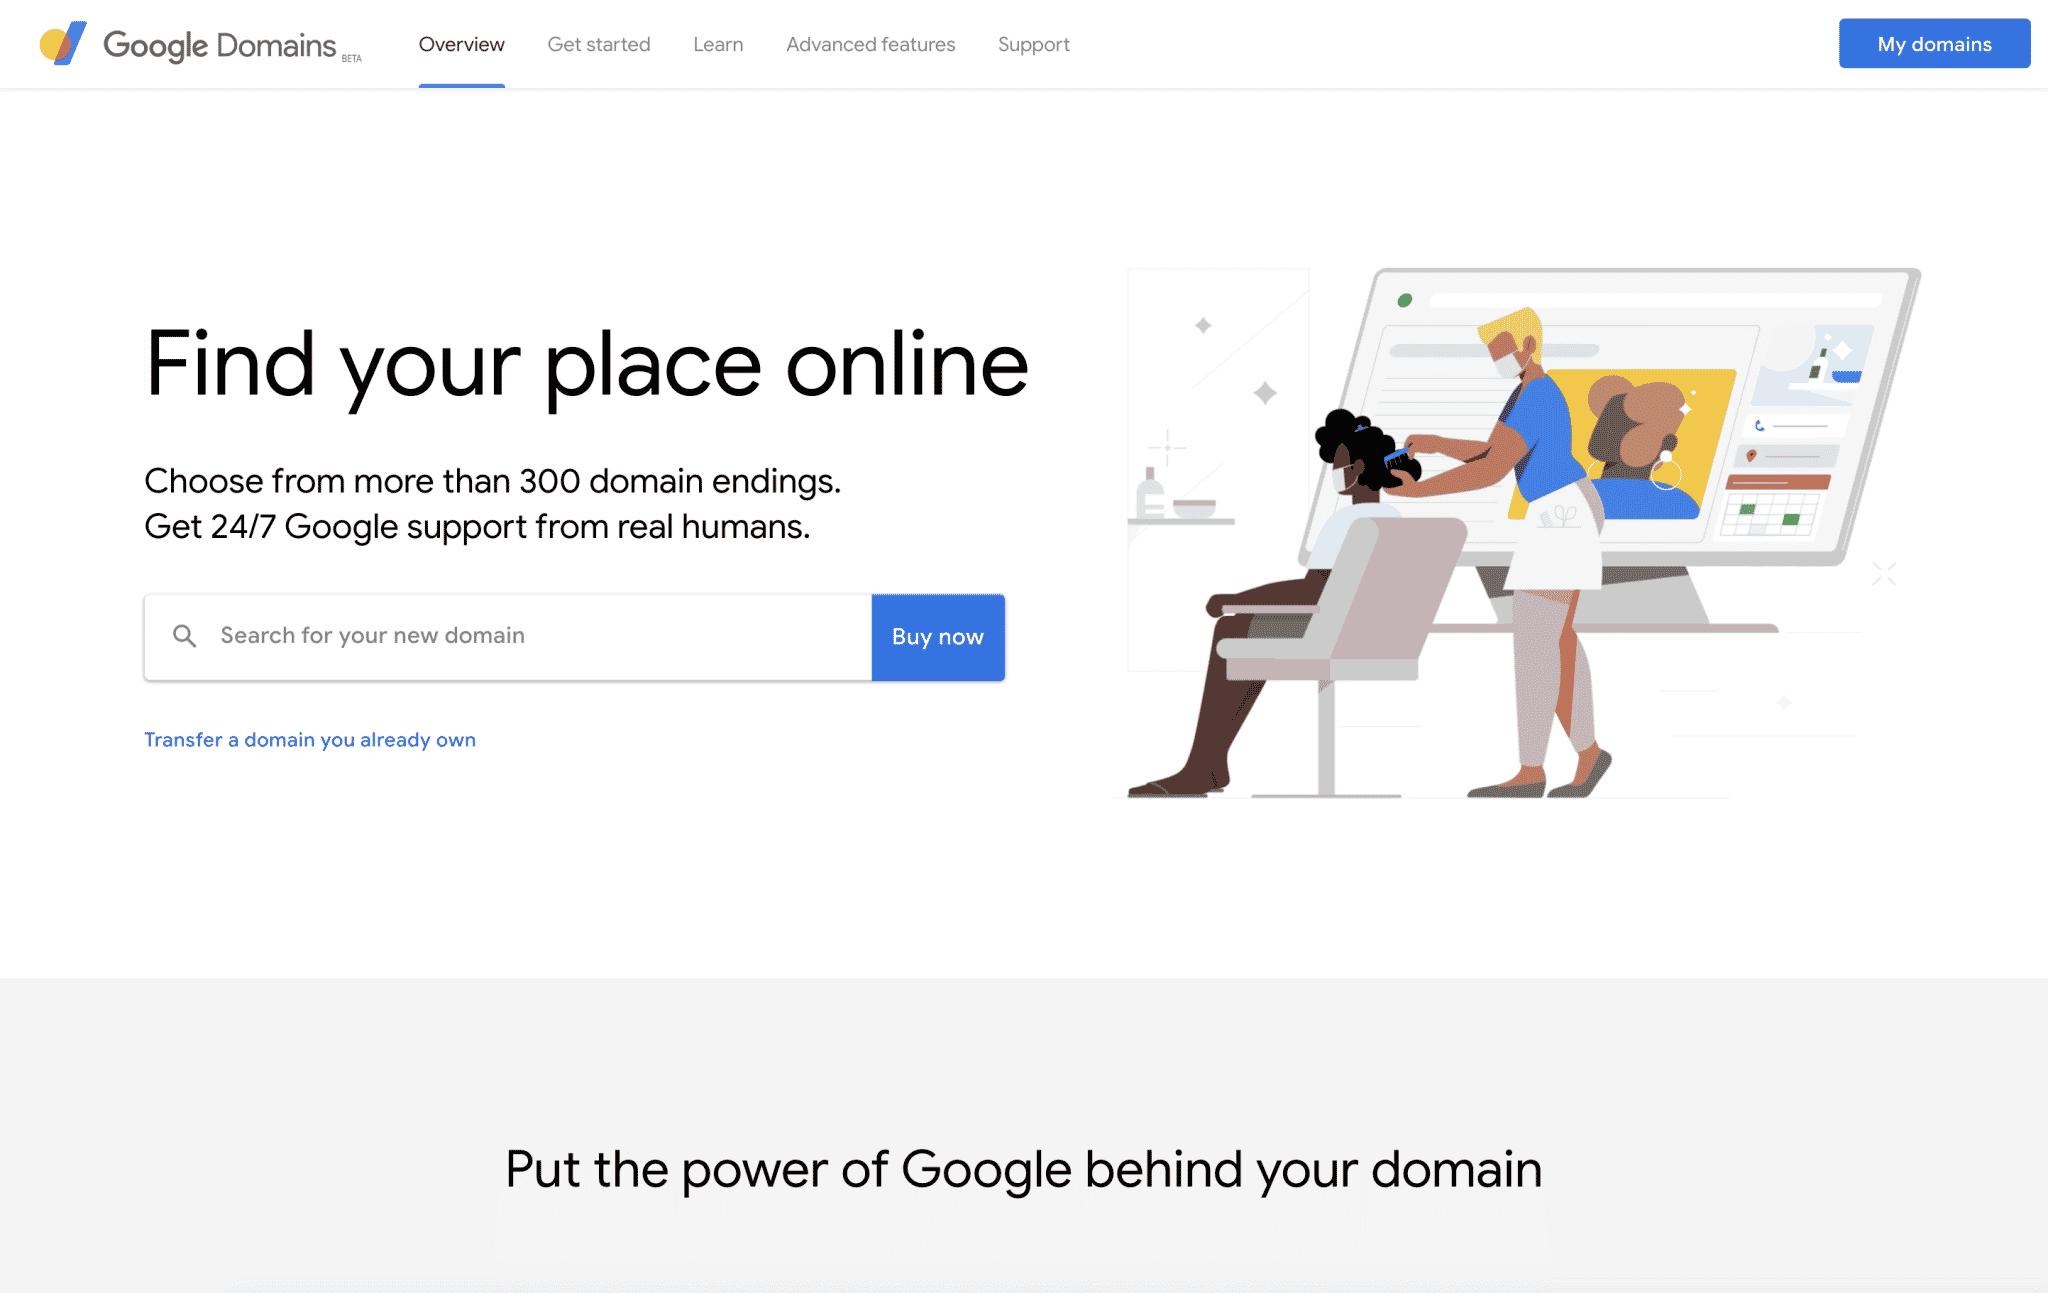
We’re big fans of buying domains through Google Domains because the account will be linked to your Gmail – which makes it more likely that you’ll be able to remember where you purchased your domain. Tutorial: How to Register a Domain with Google Domains »
In general, you can expect to pay around $12/year for each domain that you own. If you’re buying a domain that is shorter or more popular, you may be charged a bit more. Doing a search on Google Domains will tell you if the domain you would like is available and how much it will cost a year.
Domain name pricing is pretty standard throughout the web so I would avoid trying to shopping around to find a cheaper registrar. Cheaper registrars tend to be slower, less secure and are more difficult to update. For only $12 a year, this is one area you don’t want to skimp.
3. Secure social media handles for the business
In an ideal world, before you even purchase a domain name, it’s also a good idea to check to see if your business name is available on the social media channels you plan to use.
If you aren’t sure which you’re going to use yet, Instagram, Facebook and Pinterest are good places to start. Even if you’re not ready to post content on all of those platforms for some time, I would still take the time to secure your usernames,
Try to choose usernames that match your website’s URL.
So if for example your website URL was AndreaLong.com, you would want your social media URLs to look something like this:
- Instagram.com/andrealong
- Facebook.com/andrealong
- Pinterest.com/andrealong
Keeping things consistently across channels makes it more likely that people will find and follow you elsewhere. This is especially true for Instagram. If someone searches for your business name and hyphens, weird characters or odd spellings prevent it from coming up right away, it’s a lot less likely that someone is going to tag you when sharing one of your images (which could really hurt your marketability!)
4. Consider investing in a brand
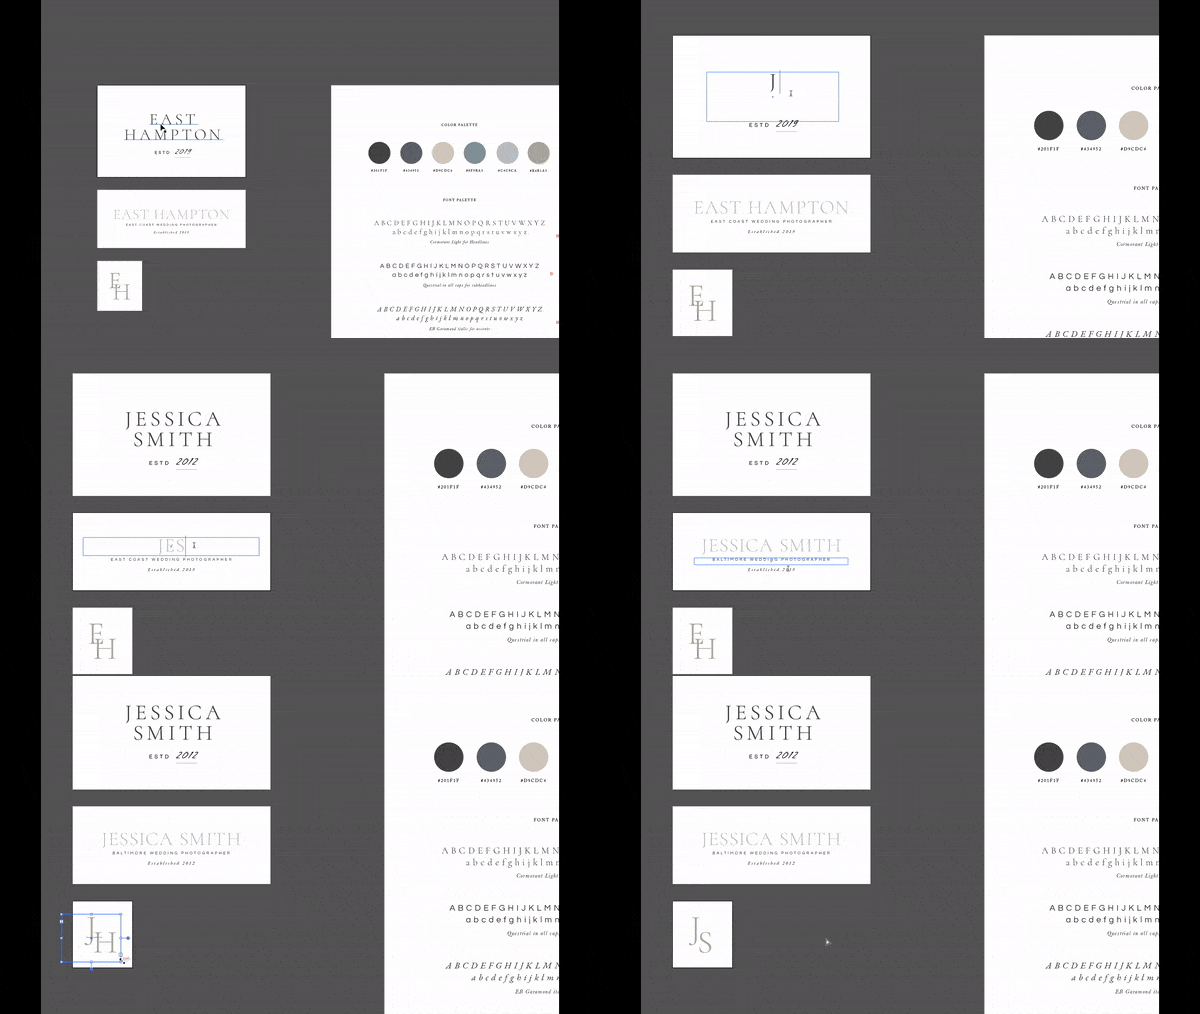
If you’ve been thinking about investing in a brand designer (so that your business has a logo), now is a great time to do so.
Working with a brand designer on a custom or a semi-custom brand can go a long way toward creating something cohesive and helping your business to feel a bit more polished.
Before you begin, consider reading through our post about 3 Questions to Answer Before Investing in Brand Design.
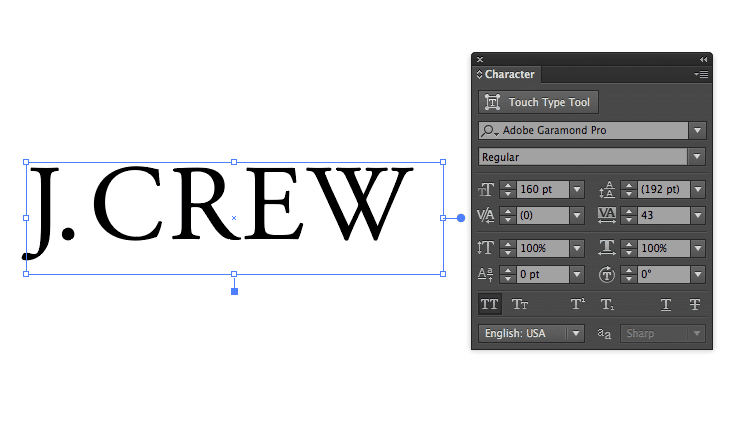
If you don’t feel quite ready to take the plunge into brand design, a simple logo can work really great. Think about everything J. Crew has accomplished with this logo:
Or, if you decide to use one of our premium website templates for your new site, start with one of the logo files that comes with the design.
A few other helpful branding resources:
5. Choose a website platform (Showit, WordPress, etc), a design and a host
Choose a website platform (Showit, WordPress, etc), a design and a host
Once you have a plan for your logo & brand, you’ll want to choose a website platform.
There are a LOT of website builders out there but the only two we currently recommend are Showit (with a WordPress blog) and WordPress with the Elementor builder plugin.
We’ve experimented with WordPress.com, Blogger, Wix, Squarespace, WordPress with Divy, PhotoPhoto and a few other builders, but we found those particular builders very limited when it comes to aesthetics and search engine optimization (both of which are vital for a photography business).
Showit is a drag-and-drop website builder created specifically for photographers and creative professionals. Websites are designed within the Showit app—which has a similar feel to Adobe products like Lightroom and InDesign. The software comes with a suite of simple, free templates or you can choose to invest in a more professional design (view ours here.)
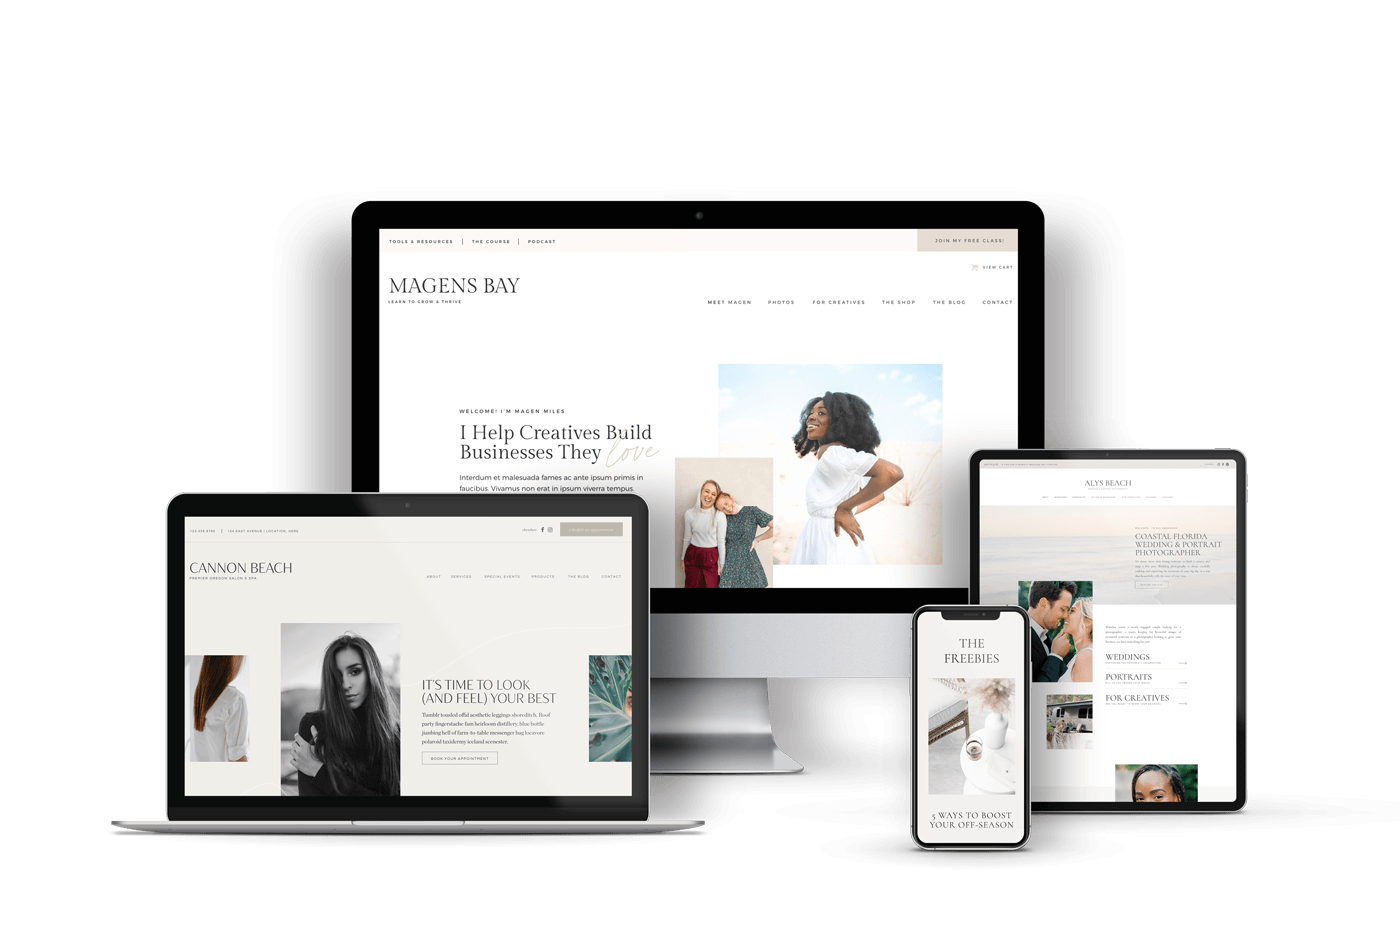
If you choose to use Showit, they will be your host.
Elementor is also a drag-and-drop WordPress page builder. It’s a plugin that’s installed on your WordPress website that helps you to visually design your website without needing to know code.
It’s not quite as intuitive as Showit, but it’s very powerful and it’s great for e-commerce (when you add WooCommerce). Our site uses WordPress with the Elementor and WooCommerce plugins added on.
Sites built with Elementor can be installed on just about any host, although like with domain registrars, you get what you pay for. Cheap hosts tend to be less secure, more challenging to set up and slower to load.
Going with an Elementor site and installing it on your own host can be a bit technical, which is one of the reasons we actually offer hosting. Anyone who hosts with us gets help with the initial setup, access to a design of their choice from our Elementor site library & help with the actual “going live” portion of the launch process.
If you want to dive more deeply into the differences between Showit and Elementor, we wrote an in-depth post comparing the two.
6. Gather 100 images
Once you’ve made it this far in the process, the next step in this process can be a bit daunting.
That’s why I generally recommend that you start working on your site by choosing around 100 of your favorite images.
Choose a mix of horizontal and vertical images that feel “on brand” and that you absolutely love. If you’re a wedding photographer, don’t feel like you need to show that you can shoot all parts of the day. I would choose stunning couple, bridal party, landscape and detail images over poorly lit church images. You know, the ones where the wedding coordinator made you stand all the way in the back.
Don’t get too hung up on the number of images here. The important thing is just to start choosing images and then begin placing them in your website.
It’s amazing how much more “you” a site can feel once your images are in place!
If you feel so inclined, now is also a great time to optimize those images to be found by search engines.
One way to help that process is to name your images with keywords. So instead of “image-1.jpg”, I would do something like “chesapeake-bay-beach-club-stevensville-maryland-wedding-1.jpg”. I would avoid adding couple’s names or your name to the images to focus on venue names, locations and styles (rustic, spring, fall, etc).
Going Deeper
- How to Optimize Images for Search Engines
- How to Show Off Your Work on Your Website
- Using TinyJPG/TinyPNG to reduce image sizes
7. Begin working through your website page by page
Once you have some images in place, it’s time to start working through your site page by page. We typically advise that most photography sites include a homepage, an about page, a page for each of their services, a blog and a contact page.
All of the designs in our shop include these pages. And because we know that it’s hard to figure out exactly what to say on those pages, each design comes with starter website copy that you can use as a guide for your site.
Dive Deeper:
- About page: Our 9 Favorite Ways to Spice Up Your About Page
- About page: The About Page: Do This and Not That
- Services pages: How to Create a Services Page
- Contact page: 7 Tips for a Contact Page that Drives Inquiries
- Promptlate Shop
8. Write at least 3 blog posts
If you’re planning to include a blog in your site (which we highly recommend for search engine purposes,) we recommend launching with at least three blog posts.
You don’t want visitors to come to an empty page so aiming for three posts is a great way to make the blog page feel a little more complete.
If you’re not sure what to blog about, here are a few ideas:
- Share a past wedding or session (Helpful post: How to Blog a Wedding or Portrait Session »)
- Share a roundup of your favorite engagement session dresses with links to shop similar styles
- Highlight a local venue in your area
- Share 5 tips to prep for a newborn session
- Give couples advice for choosing a meaningful engagement session location
The most successful blogs try to share a mix of their work with content that would appeal to their readers.
Note – if you’re working on a Showit site, you won’t be able to load any blog posts until you ask Showit to make your site live and they set up your blog (directions »). If you want to work on those posts ahead of time, I recommend writing the posts in something like Google Docs and organizing your optimized images in folders on your desktop (don’t add them to the Doc as they won’t copy to your site). Once Showit gives you blog access, you can paste in your text and add your images.
9. How to go live on Showit or WordPress
Showit – When you’re ready for your Showit site to go live, Showit has a series of articles to walk you through the process. The biggest thing you need to know is that you’ll send them your domain registrar details (the places where you purchased your domain) and they’ll take care of the rest!
WordPress with Elementor – If you’re launching a fully WordPress site the launch process is going to look a bit different depending on your host and how you initially set up your site.
If you host with us (and are a member of the Palm Tree Club), we take care of the launch for you. Just email support@daveyandkrista.com when you’re ready to go live (we need about a 2 business day heads up).
If you host elsewhere and you installed your site on your live domain (no staging site,) it’s likely that you’re either already live or you just need to take down your coming soon page in order to be live. If you’re using one of our designs, head to the setup course for a tutorial showing you how to take down the coming soon page.
10. Test & Celebrate
Once your site is up and running, we recommend testing your site to make sure links work, the mobile version is easy to use and everything is in its place.
We have a launch checklist that may be helpful »
Pull together some launch graphics, share about your site on social media, ask friends to share, host a giveaway… There are a lot of things you can do to celebrate your launch and use your new site to drive traffic to your business!
Dive Deeper:
- How to Create Launch Graphics »
- 9 Things to Know BEFORE Launching a Website »
- How to Create Hype for a Website Launch »
And that’s it! Time to celebrate because your new website is LIVE!
We know that this list and process may seem a little overwhelming at first, but if you choose one or two things to tackle each day, you should have a live website in just a couple of weeks.
Still have questions about launching a website? Leave a comment below or get in touch with us here.
VIEW THE COMMENTS
Add A Comment